
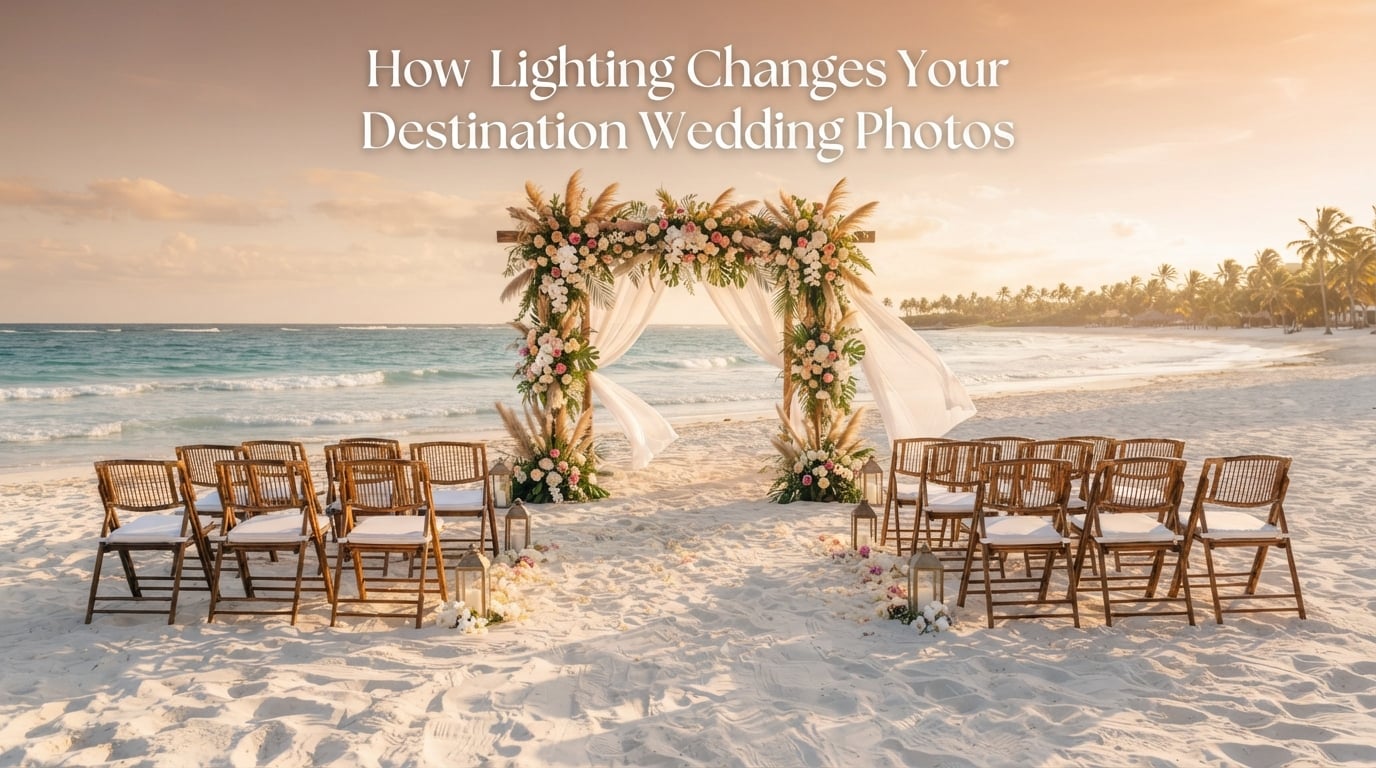
I have photographed destination weddings for over a decade, and if there is one thing I can tell you with absolute certainty, it is this: lighting will make or break your wedding photos more than any other factor. Not the venue. Not the dress. Not even the photographer’s skill level can fully compensate for poor lighting conditions.
When couples ask me about destination wedding photography lighting, they often think about golden hour and sunset shots. But lighting affects every single moment of your wedding day, from the getting ready photos at 9 AM to the last dance at midnight.
Destination weddings add another layer of complexity. Tropical sun, reflective beach sand, mountain altitude, and unfamiliar venues all create lighting challenges that local weddings simply do not face. Understanding how lighting changes your destination wedding photos helps you plan better, communicate with your photographer, and ultimately get the gallery you have been dreaming of.
In this guide, I will walk you through exactly how lighting impacts each part of your destination wedding day and what you can do to get the most flattering results.
Table of Contents
Getting Ready Location Lighting for Destination Wedding Photography
Your getting ready photos set the tone for your entire gallery. These intimate moments of hair, makeup, dress hanging, and anticipation deserve beautiful light.
What to Look For
The ideal getting ready space has large windows with natural daylight pouring in. I always tell my couples to request a room with north-facing or east-facing windows when possible. This gives soft, diffused light without harsh direct sun beams.
Window light creates that editorial, natural look that makes skin glow and details pop. When you have a big window with sheer curtains, you essentially have a giant softbox that flatters every complexion.
What to Avoid
Dark rooms with only overhead lighting are the enemy of flattering getting ready photos. Fluorescent bathroom lights cast a green-yellow tint that makes skin look sickly. I have worked in gorgeous resort suites where the only good light was a tiny bathroom window.
Colored walls are another hidden trap. A warm red or orange wall reflects that color onto skin, creating unnatural tones that are difficult to correct even in professional editing. Neutral wall colors like white, cream, or light gray reflect clean, natural light.
Destination-Specific Getting Ready Challenges
Tropical destinations often have smaller hotel rooms than couples expect. A beachfront bungalow sounds romantic, but if the room is dark with tiny windows, your getting ready photos will suffer. I recommend booking a suite or at minimum asking the resort for a room category with large windows.
Mountain destinations may have stunning views but limited natural light depending on which direction the room faces and how the mountain blocks sunlight. Check with your venue about room orientation before booking.
If you are stuck with a dark room, your photographer can use off-camera flash or reflectors. But natural window light will always produce the most flattering, timeless results for getting ready photos.
Ceremony Lighting for Outdoor Destination Weddings
The ceremony is the moment you cannot redo. Once those vows are exchanged, the photos are captured forever. This makes ceremony lighting the most critical planning consideration for your destination wedding.
Why Shade Is Your Best Friend
If I could give couples one piece of advice about ceremony lighting, it would be this: choose a shaded location. Shade provides even, diffused light that flatters every skin tone and eliminates squinting.
Direct midday sun is the worst lighting condition for ceremonies. It creates dark shadows under eyes and chins. It causes guests and the wedding party to squint. And it creates uneven exposure between people standing in sun versus shade.
I have photographed ceremonies where the couple chose a sunny spot because it looked pretty in person. The photos had harsh shadows, squinting faces, and blown-out highlights. The same ceremony under a tree or a pergola would have looked stunning.
Time of Day Matters Enormously
The time you choose for your ceremony determines the quality of light you get. Here is what I recommend based on thousands of wedding shoots:
Late afternoon ceremonies (4-6 PM depending on season): The sun is lower, creating softer, warmer light. This is ideal for outdoor ceremonies.
Morning ceremonies (9-11 AM): The light is soft and directional. Great for beach weddings where afternoon sun can be brutal.
Midday ceremonies (11 AM – 2 PM): The harshest light of the day. If you must marry at midday, insist on a shaded area.
Beach Ceremony Lighting Challenges
Beach ceremonies come with unique lighting problems. White sand acts like a giant reflector, bouncing harsh light upward into faces. This creates under-chin shadows and can make skin look washed out.
Water reflection is even more intense. If your ceremony faces the ocean, the reflected light from the water can cause severe squinting. I always recommend positioning the ceremony so the sun is behind or to the side of the couple, not directly in front.
Tropical destinations near the equator have particularly harsh sun because the rays come from almost directly overhead. The sun also sets quickly in tropical locations, so the window of soft evening light is shorter than you might expect.
Mountain Ceremony Lighting
Mountain venues offer dramatic backdrops but unpredictable lighting. At higher altitudes, the atmosphere filters less sunlight, making UV exposure stronger and colors slightly different. The sun may also dip behind peaks earlier than official sunset times suggest.
Always ask your photographer to scout the ceremony location at the exact time of day your ceremony will take place. Shadows from mountains and trees change the lighting dramatically depending on the hour.
Portrait Lighting and Golden Hour Photography
Portrait sessions are where destination wedding photography lighting truly shines. With some planning, you can get magazine-quality portraits that capture the beauty of your destination.
What Is Golden Hour and Why It Matters
Golden hour is the period shortly after sunrise and shortly before sunset when the sun is low on the horizon. The light during this time is warm, soft, and directional, creating that romantic glow every couple wants.
For destination weddings, golden hour portraits are usually scheduled for the evening. The hour before sunset gives you that buttery, warm light that makes skin tones look natural and adds a dreamy quality to photos.
I always plan at least 30 minutes of golden hour portraits into the timeline. Some couples worry about stepping away from their guests, but these 30 minutes produce the most memorable images from the entire day.
First Look Timing for Best Light
A first look lets you capture portraits before the ceremony, when lighting conditions may be better. If your ceremony is at noon, scheduling a first look at 10 AM gives you soft morning light for portraits.
First looks also give you a private moment together, which many couples find more emotional and meaningful than seeing each other for the first time during the ceremony.
From a lighting perspective, first looks give your photographer a dedicated window for portraits without the pressure of guests waiting. This is especially valuable at destination weddings where every minute of good light counts.
Backlit Portraits
Some of my favorite destination wedding portraits are backlit, meaning the sun is behind the couple. This creates a beautiful halo effect around hair and shoulders.
Backlighting requires a photographer who understands exposure management. When done well, it produces that editorial, romantic look that destination weddings are known for. When done poorly, you get silhouettes with no facial detail.
When Golden Hour Is Not Possible
Sometimes timelines do not allow for golden hour portraits. Overcast days, rainy weather, or tight schedules can interfere. In these situations, an experienced photographer will find shaded areas or use off-camera flash to simulate soft, directional light.
Cloud cover is actually a photographer’s secret weapon. Overcast skies act like a giant diffuser, creating soft, even light that is incredibly flattering for portraits. Some of my best destination wedding portraits were shot on cloudy days.
Reception Lighting Challenges and Solutions
Receptions transition from daylight to darkness, creating the most dramatic lighting shift of the day. How your venue handles this transition affects everything from dancing photos to detail shots.
The DJ Uplighting Warning
Here is something most couples do not know: colored DJ uplighting can ruin your reception photos. Purple and pink uplights cast those colors onto skin, making faces look unnatural.
I once photographed a gorgeous reception where purple uplighting turned every dancing photo into a lavender-tinted scene. The couple loved the party atmosphere but was disappointed that the photos did not look like what they remembered.
If you want uplighting, ask for warm white or amber tones. These create a romantic ambiance without distorting skin tones. If colored lighting is important to you for dancing photos, ask your photographer about timing the color changes for later in the evening.
String Lights and Bistro Lighting
Bistro string lights are one of the best lighting choices for destination wedding receptions. They provide warm, ambient light that flatters skin and creates a romantic atmosphere.
String lights also give your photographer a practical light source for dancing and reception photos. Unlike a dark venue that requires harsh flash, string lights provide enough ambient light for natural-looking images.
If your venue does not offer string lights, consider renting them. The investment pays off in better photos and a more magical atmosphere.
Detail Shots and Reception Lighting
Reception details like place settings, florals, and cakes need good light too. I always photograph details during daylight hours when natural light is available.
If your reception is entirely indoors or starts after dark, your photographer will use artificial lighting for details. This is where experience matters. A skilled photographer can make artificial light look natural.
Destination-Specific Lighting Challenges
Every destination presents unique lighting challenges that local weddings never face. Understanding these helps you plan accordingly.
Tropical and Beach Destinations
Tropical destinations near the equator have intense, direct sunlight for most of the day. The sun rises and sets quickly, shortening the golden hour window. Humidity also affects photos, creating haze that can soften images or cause lens fogging.
Sand and water reflect light intensely, increasing exposure challenges. Photographers experienced with beach weddings know how to manage these reflections and use them creatively.
Sunset times in tropical destinations vary less throughout the year than in northern locations. A July wedding in Mexico will have a similar sunset time to a December wedding. This makes planning more predictable but also means golden hour windows are consistently short.
Mountain and High-Altitude Destinations
Mountain weddings offer stunning scenery but challenging light. At altitudes above 5,000 feet, the atmosphere is thinner, allowing more UV light through. Colors can appear slightly different, and the light changes more rapidly as the sun moves behind peaks.
Mountain weather is unpredictable. Cloud cover, fog, and sudden weather changes can shift lighting conditions in minutes. An experienced mountain wedding photographer plans for contingencies and knows how to work with rapidly changing light.
European and Mediterranean Destinations
Mediterranean destinations offer beautiful golden light, especially in late afternoon. Stone buildings and narrow streets create interesting shadow patterns that can be either dramatic or challenging.
The warm-toned architecture in places like Italy and Greece reflects warm light onto skin, which is generally flattering but can be intense during midday hours. Plan ceremonies for late afternoon to take advantage of the soft Mediterranean light.
The Overcast Day Advantage
Many couples panic when they see clouds on their wedding day. But from a photography perspective, overcast days are a gift. Cloud cover diffuses sunlight, creating soft, even lighting that eliminates harsh shadows and reduces squinting.
Overcast light is particularly flattering for portraits because it mimics the soft quality of studio lighting. Colors appear richer and more saturated on cloudy days. If your destination wedding day turns out cloudy, trust your photographer to make the most of those conditions.
Working With Your Photographer on Lighting
The best thing you can do for your destination wedding photos is communicate openly with your photographer about lighting concerns. Share your venue photos, discuss ceremony timing, and ask about backup plans for challenging conditions.
A professional destination wedding photographer will have experience dealing with all types of lighting scenarios. They can advise you on timeline adjustments, ceremony positioning, and venue selection based on what will produce the best photos.
FAQs
How does lighting affect wedding photos?
Lighting affects skin tones, mood, emotion, and how timeless your photos feel years from now. Good lighting creates flattering, even tones with soft shadows, while harsh lighting creates unflattering shadows, squinting, and colors that look dated over time.
What lighting conditions are best for outdoor wedding photography?
Shade or diffused light provides the most flattering conditions for outdoor wedding photography. Golden hour, the hour before sunset, offers soft warm light perfect for portraits. Overcast days also create beautifully soft even lighting that eliminates harsh shadows.
How do wedding photographers handle changing lighting throughout the day?
Professional photographers scout locations beforehand, plan timelines around optimal lighting windows, and use techniques like finding shade, backlighting, off-camera flash, and reflectors to manage challenging conditions throughout the day.
Why is timing important for wedding photography lighting?
Timing determines the quality and direction of natural light. Scheduling portraits during golden hour ensures soft romantic light, while midday sun creates harsh shadows. Planning your timeline around sunset times at your specific destination is essential for beautiful photos.
Planning Your Destination Wedding Photography Lighting
Understanding how lighting changes your destination wedding photos is the first step toward a gallery you will treasure forever. Work with your photographer to build a timeline around the best light, choose shaded ceremony spots, request warm-toned reception lighting, and trust that even overcast days can produce stunning results.
Destination wedding photography lighting requires planning, flexibility, and expertise. When you and your photographer are on the same page about lighting expectations, every moment of your day will be captured beautifully, no matter where in the world you say I do.